How to Setup for Milling Day
In order to process your logs on your property, I will need to be able to get my sawmill to a reasonably wide and flat spot (10’ wide x 35’ long) near your logs. I can mill on dirt, grass, gravel, or concrete. I think more about flatness, than surface. As you think about placement, if you can imagine someone backing up or driving a trailer into the sawmill eventual’s milling spot, then I can likely make it work. I can also jackknife the sawmill into a tight spot. Note that if we use my track loader to move your logs, which is an additional fee, then we have A LOT of options: I can move almost any log into any position. If we are milling without a track loader or tractor, then our site will be decided by how we can manually skid and/or roll the logs onto my sawmill’s loader arms. The loader arms are 60” wide, so our goal is to get the logs rolled and balanced onto these arms. The sawmill will take it from there.
Log Positioning
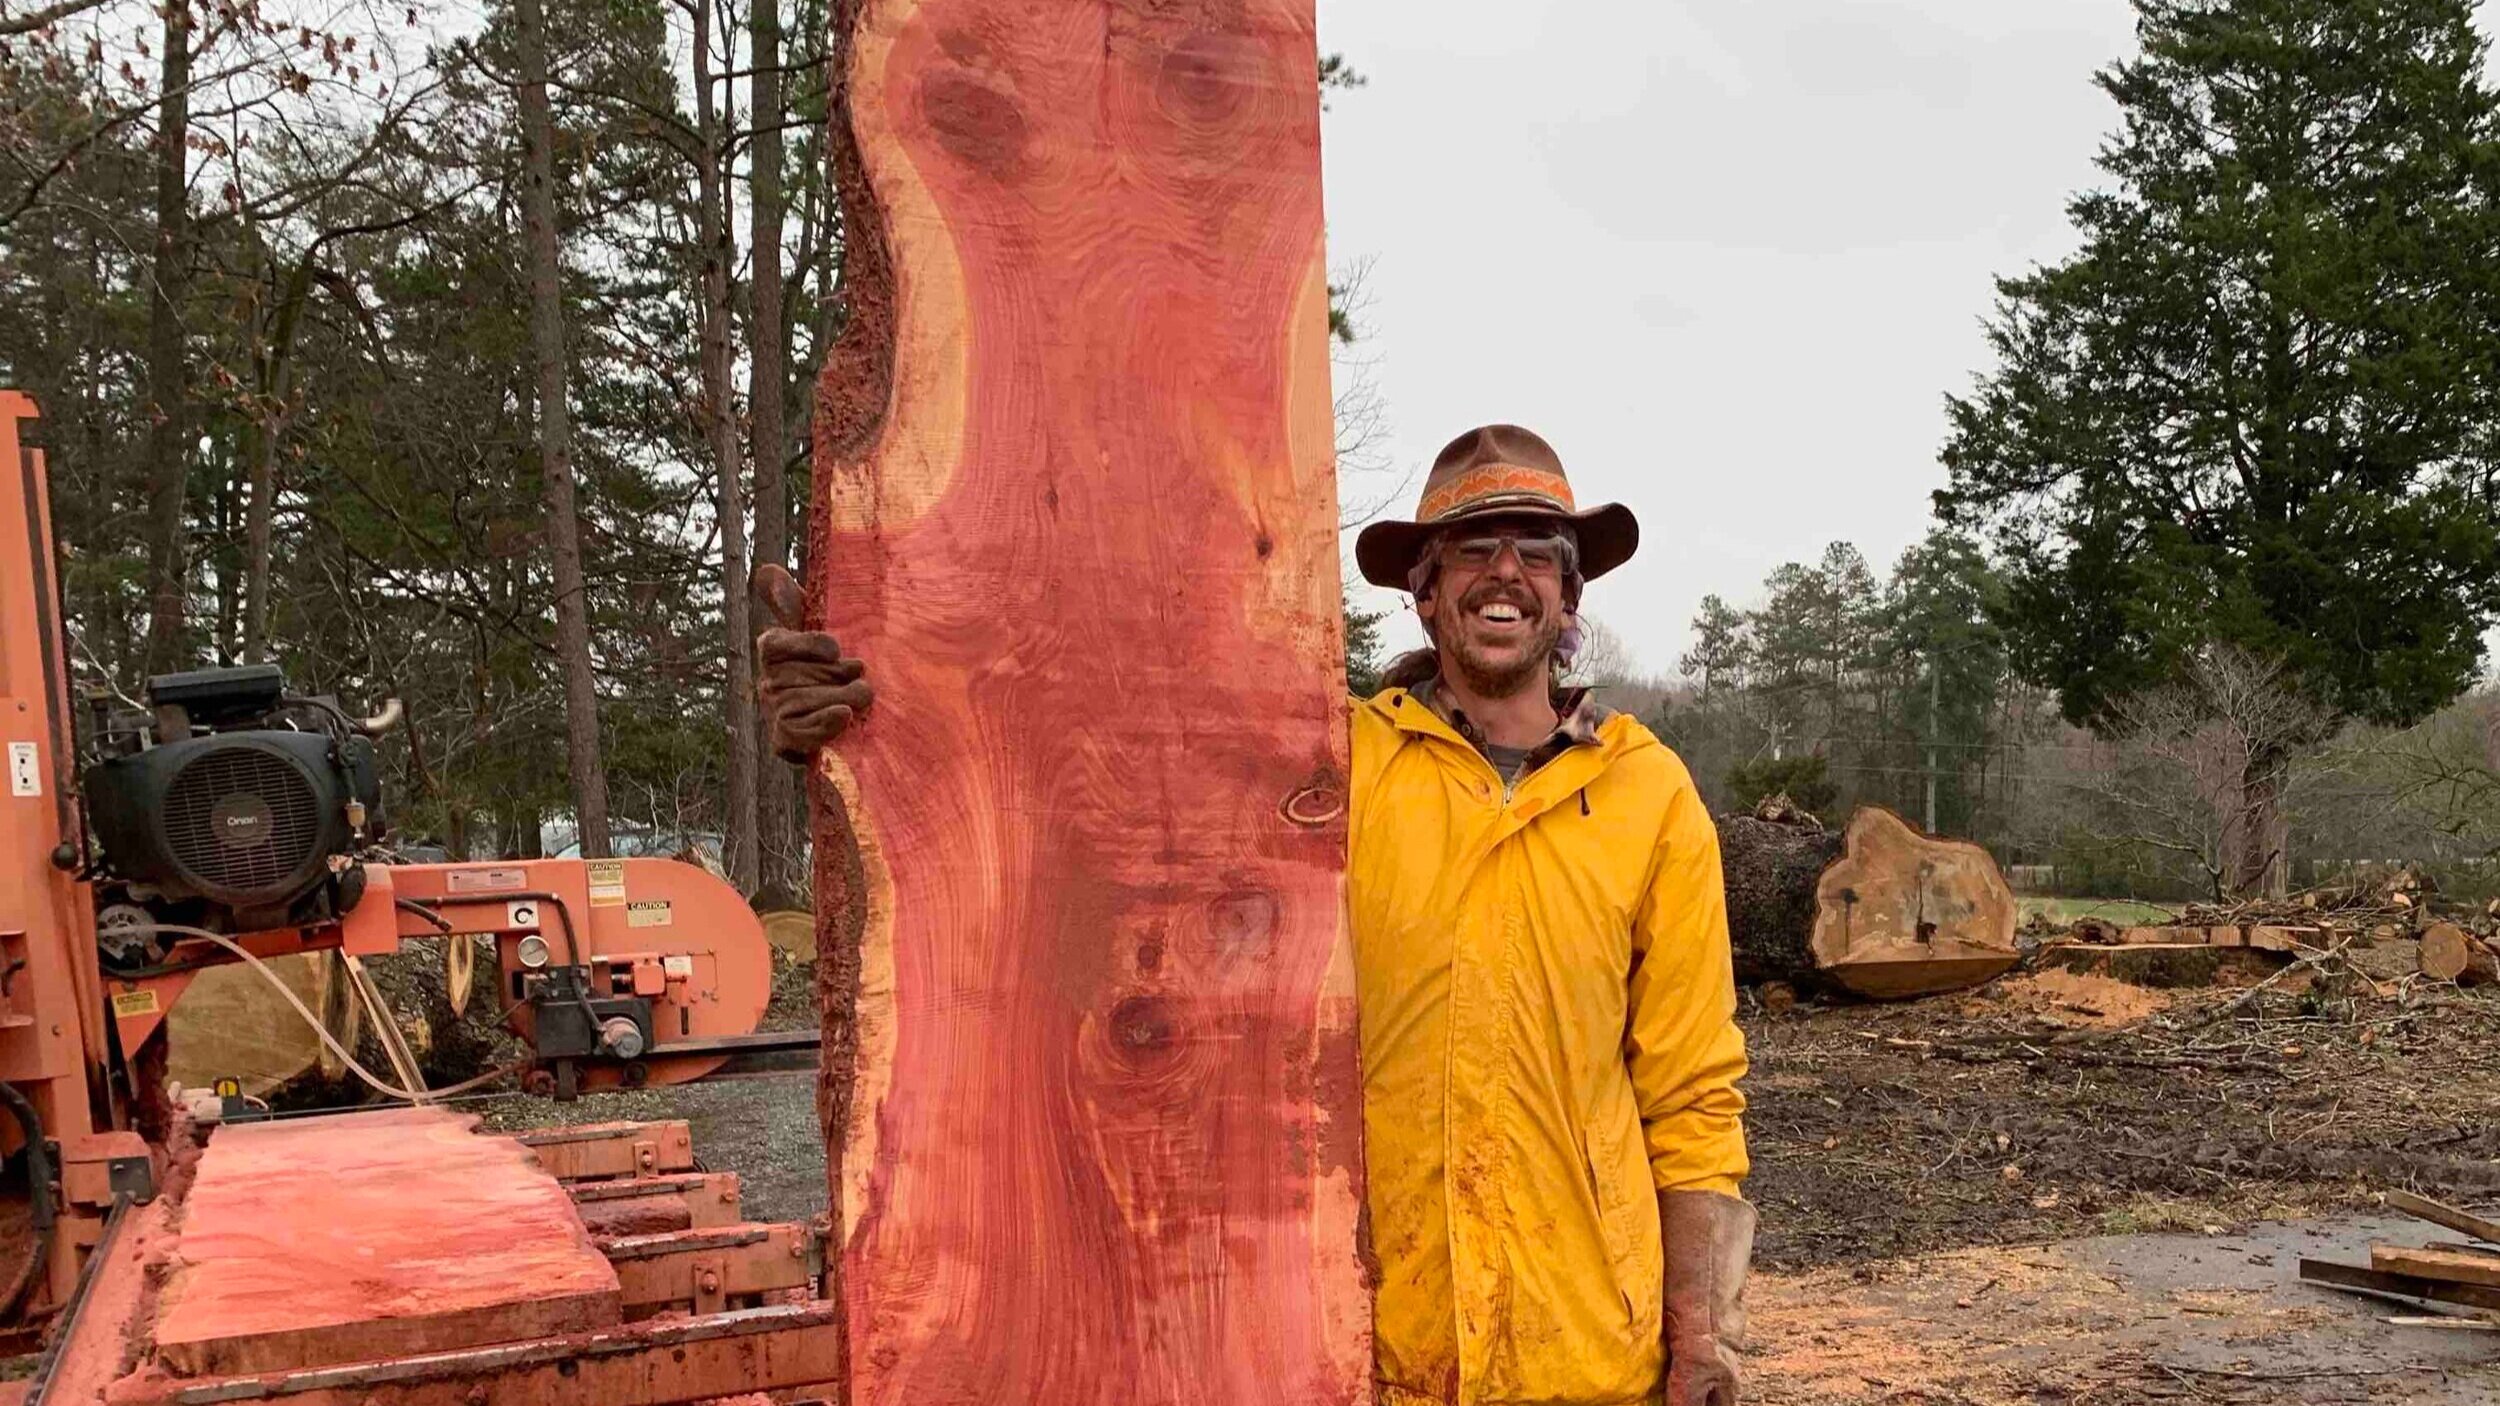
Moving logs by hand is the trickiest part of portable sawmilling. Here are some pictures of different setups. Note the loader arms.

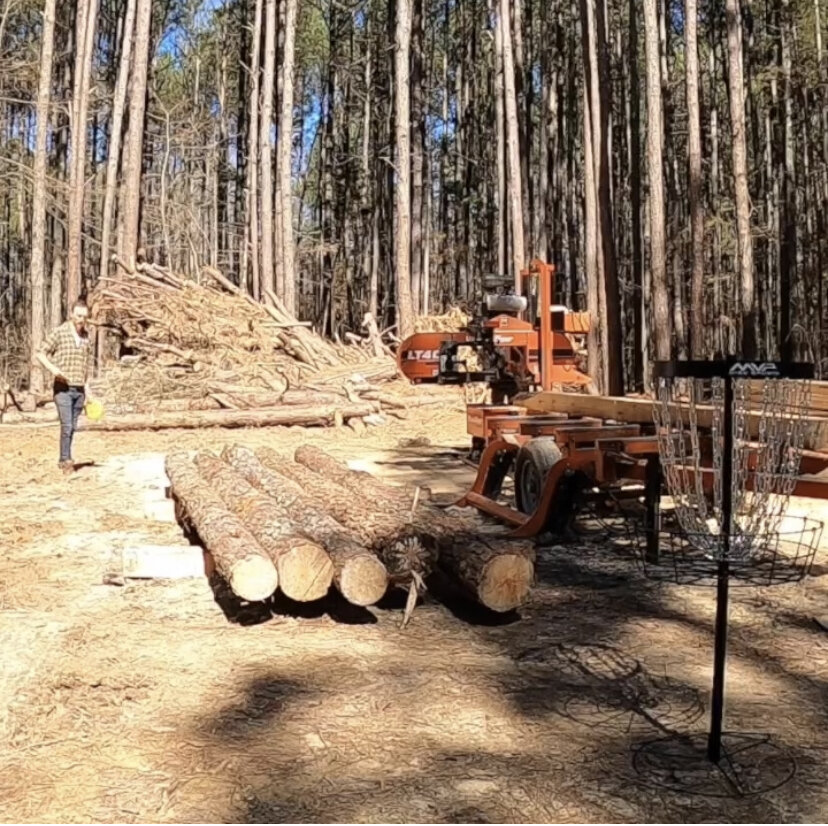


The following conditions make it easier to move logs without heavy equipment: the lighter, shorter, and more cylindrical a log, the better chance we have to move it into position. Slope really matters, so if you can get the logs uphill from where the mill will be, that helps. We can use log arches, come-alongs, my truck and a log chain, grapples, rollers, winches, and more to move the logs. In my experience, hardwoods over 32” in diameter are nearly impossible to move without three people and cant hooks. Big logs really do require heavy equipment. Crotch sections don’t roll easily. Tall log stacks are dangerous, so if a machine stacked it then it’s likely that a machine will need to undo it. Here are a couple of goofier examples showing how I move logs without my track loader.

Site Configurations

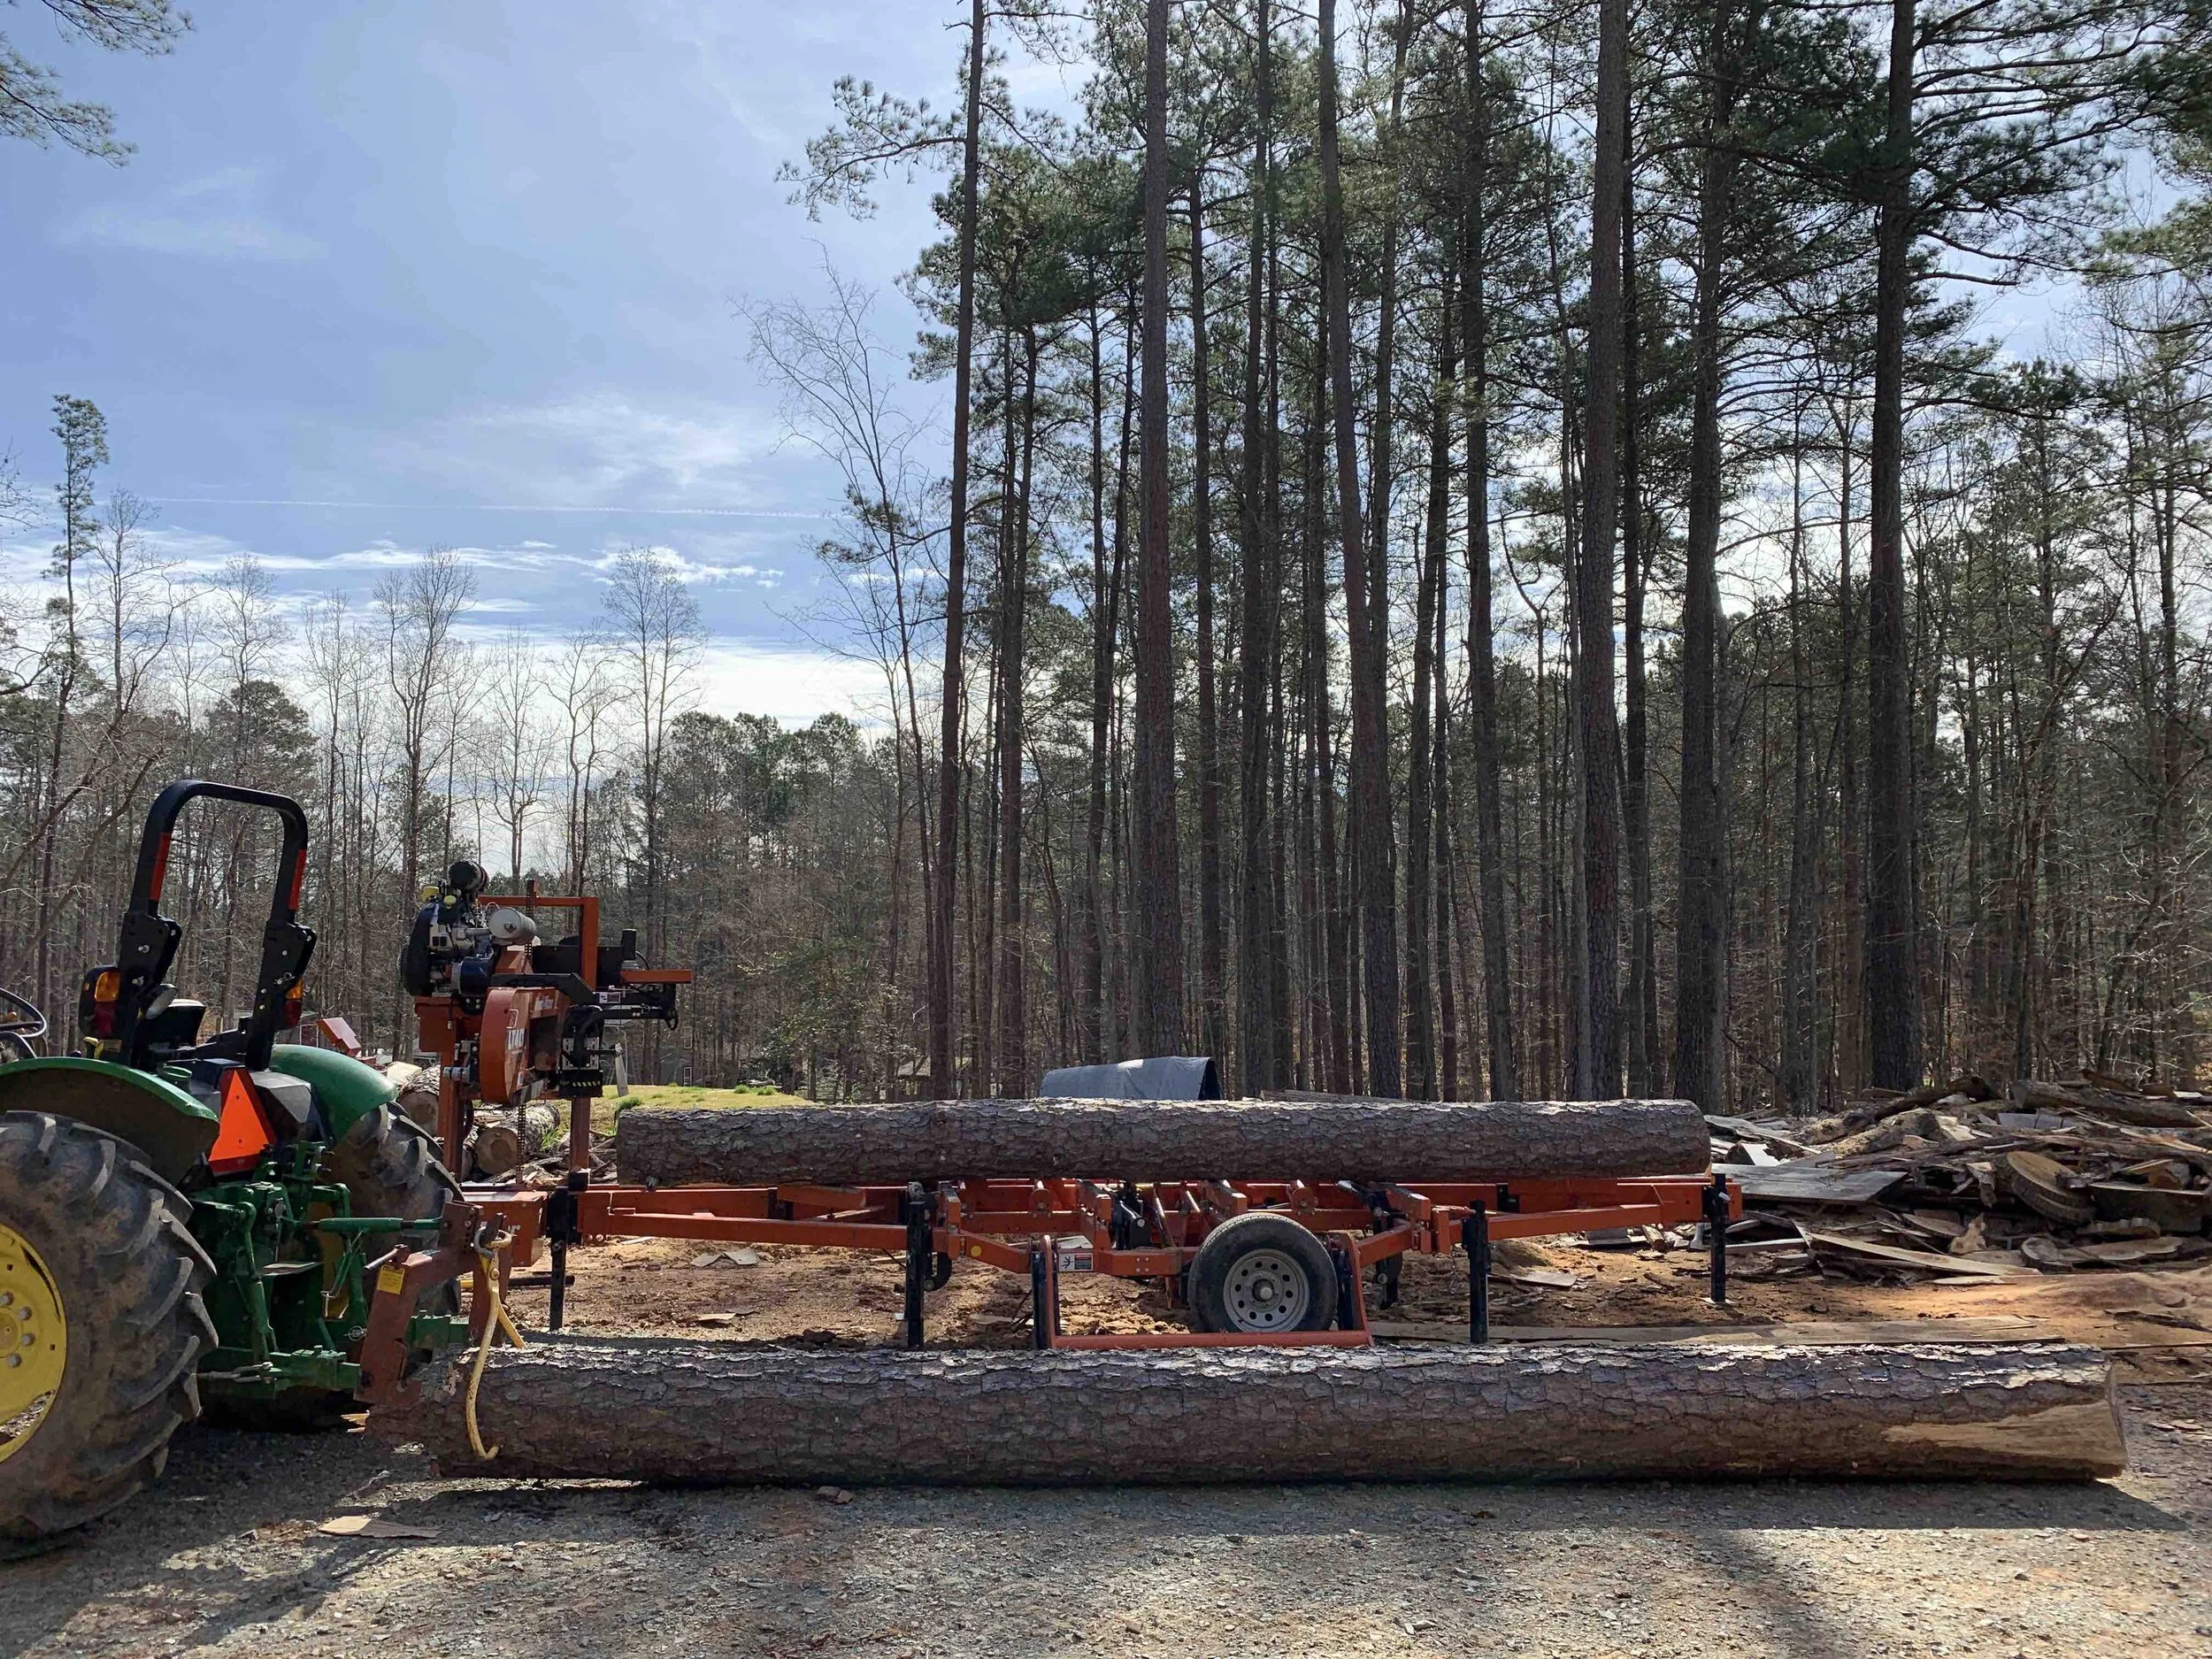
Here’s a drawing that sawyers often use to show the general workflow of a portable mill job. The log deck/access is correct; however, the piles can be anywhere around the mill, provided that there is a clear path for exit. The key to setting up an efficient sawmill site is to carry wood as little as possible. How close can we have all the piles to the mill? The only space I need is the 3’ walkway adjacent to the mill bed and an exit path for my truck and sawmill. For piles, I encourage folks to think about three “grades” of lumber that will be coming off the mill. The “F” grade stuff is the outer edging for which there is little use other than firewood. The “B” grade pile is the live-edge pieces that aren’t quite full-length or a part of your cut list. B-grade stuff may be useful once processed by a table saw, or as rough-cut siding, etc. The “A” grade lumber is the dimensional or live-edge material that we’re trying to get out each log. Take a look at these pics to get a sense of different pile configurations.


Sawmill Process Questions
Once we have the logs and sawmill set-up, the process of milling your lumber is pretty straightforward. I walk behind the mill as the blade slices through the log. Hydraulic loader arms rotate the log on the sawmill deck. Either I or ideally a helper— pulls the edging, slabs, and lumber off of the mill. Some common questions about the process are as follows:
How many helpers should I get for milling day?
At least one person is needed. If we are going to be cutting thick hardwood slabs, or processing more than five logs, it’s helpful to have two people. If you are going to stack lumber while I run the mill, then three helpers are ideal.
Will you do a site visit beforehand?
On occasion, yes. If we have spoken on the phone, and have set a date for milling, and I feel like a site visit would be useful, then I will swing by beforehand to brainstorm set-up configurations. Most often, I can do this for you on mill day.
How can I pay you?
I can be paid in cash, check, credit card, Venmo or Cash Square App. Add 3% if paid by credit card. Payment is due at the end of the job.
What time does mill day begin— and how late will we go?
My day on my farm starts around 6, and I get all my employees set-up and rolling by 8. Most mill days for me begin at 9:30 at your place and go until shortly before dusk (7 p.m. in the summer, 5 p.m. in the winter).
Can we cut stickers for stacking from the wood?
Yes, with two caveats. First, if we have access to pine, I’ve found that it is the quickest drying wood for stickers. We will want to cut it at the beginning of the project and have it stacked Lincoln-log style for maximum sun and wind exposure. This is easiest in the summer. Second, if we use wood that is not extremely dry for stickers it will likely leave sticker stains on your lumber. These are dark strips from where the wet sticker touches the wet lumber. If you are OK with sticker stains appearing on your lumber, then we can go for it. For barns, this doesn’t really matter. For any fine furniture-related uses, you’ll want to use kiln-dried stickers or furring strips. Eventually, I hope that my customers can sell each other their (used) stickers via my Community Lumber page to cut down on waste.
What can I do with the sawdust or edging/slabs after milling?
Sawdust is great for paths or smothering invasive weeds. Don’t use it in your garden, as compost, because the decomposition process will zap your soil of nitrogen. Oak sawdust can be used for mushroom cultivation. The edging/slabs can be used as rough siding, garden bed sides, or in hugelkulture beds. You can also use it as firewood or donate it to a local kiln-fired potter.
How soon do I have to stack the lumber after it is milled?
In my experience, within the week is usually fine. Afterwards, and especially if it rains, mold will develop between stacked boards.
When should I get you my cut list?
Usually, milling day is fine.
I’ve heard you use the terms 4/4 (four quarter), 5/4 (five quarter), and 6/4 (six quarter), etc. What does this mean?
Sawyers and woodworkers sometimes think about thickness relative to the inch scale. Hence, 5/4 is the same as 1 1/4” thick. This comes in handy just as a matter of speech.
How much dimensional thickness should I add for planing? And how thin can we realistically go?
If you know that you want 3/4” as a finished thickness, then I like to add 1/4” for planing. Also, I’ve found that anything under 1”, or 4/4, tends to warp if it’s not stacked exactly right. Therefore, I like to limit myself to 1” thick in most situations (even though I can cut 1/4” veneer). My bandsaw’s kerf is 1/8” so if we need to be precise, please let me know if my 1” is OK at 7/8” or if you really need a true 1” (4/4).
What do you do about rain days?
I try to block out more time for each job than it will likely take to accommodate for the possibility of rain. If not, then we will likely reschedule— often for a weekend day. I don’t charge for rescheduling; nor do I charge a second set-up fee if we begin and get rained-out.